Are you wondering how to replace a retaining wall but don’t know where to start? Retaining walls help to make sloping areas of the ground more usable.
A home retaining wall helps flatten the slope and hinders soil and water from running downward. A retaining wall is not only functional. It can be a beautiful design element to your landscape as well.
Unfortunately, retaining walls often fail and need to be replaced. If you need some advice for tackling this project, we can help!
Here’s what you should know about retaining wall installation.
What Does a Retaining Wall Do?
A retaining wall is helpful for erosion control, decor, and terracing. Its purpose is to “hold back” the soil behind the wall. A retaining wall creates a lot of pressure and can hold back tons of water and soil.
Even a well-constructed retaining wall can fail if you overlook proper drainage. Too much water pressure can destroy the wall.
Building a small retaining wall three feet tall or less is doable. Unless you’re an expert, leaving anything taller to a professional is a good idea.
There’s a lot that goes into a larger retaining wall project, including building codes and knowledge of runoff and erosion. Building a retaining wall less than three feet high takes approximately 20 to 30 hours.
Times may vary depending on your skill level, the weather, your materials, the wall length, and whether you have someone to help you.
Before You Begin
First, decide if you want to begin your retaining wall replacement project on your own or with the help of a professional. If you’re limited in experience but want to try DIY, stick to a wall under three feet.
If runoff is an issue where you live, installing a perforated drain pipe behind the wall is a good idea. Review local building codes, understand your climate, know runoff patterns, and determine the soil type before you begin.
Steer clear of dense or organic soil. They create more pressure than regular soil. As for climate, frost and gravity are the top concerns.
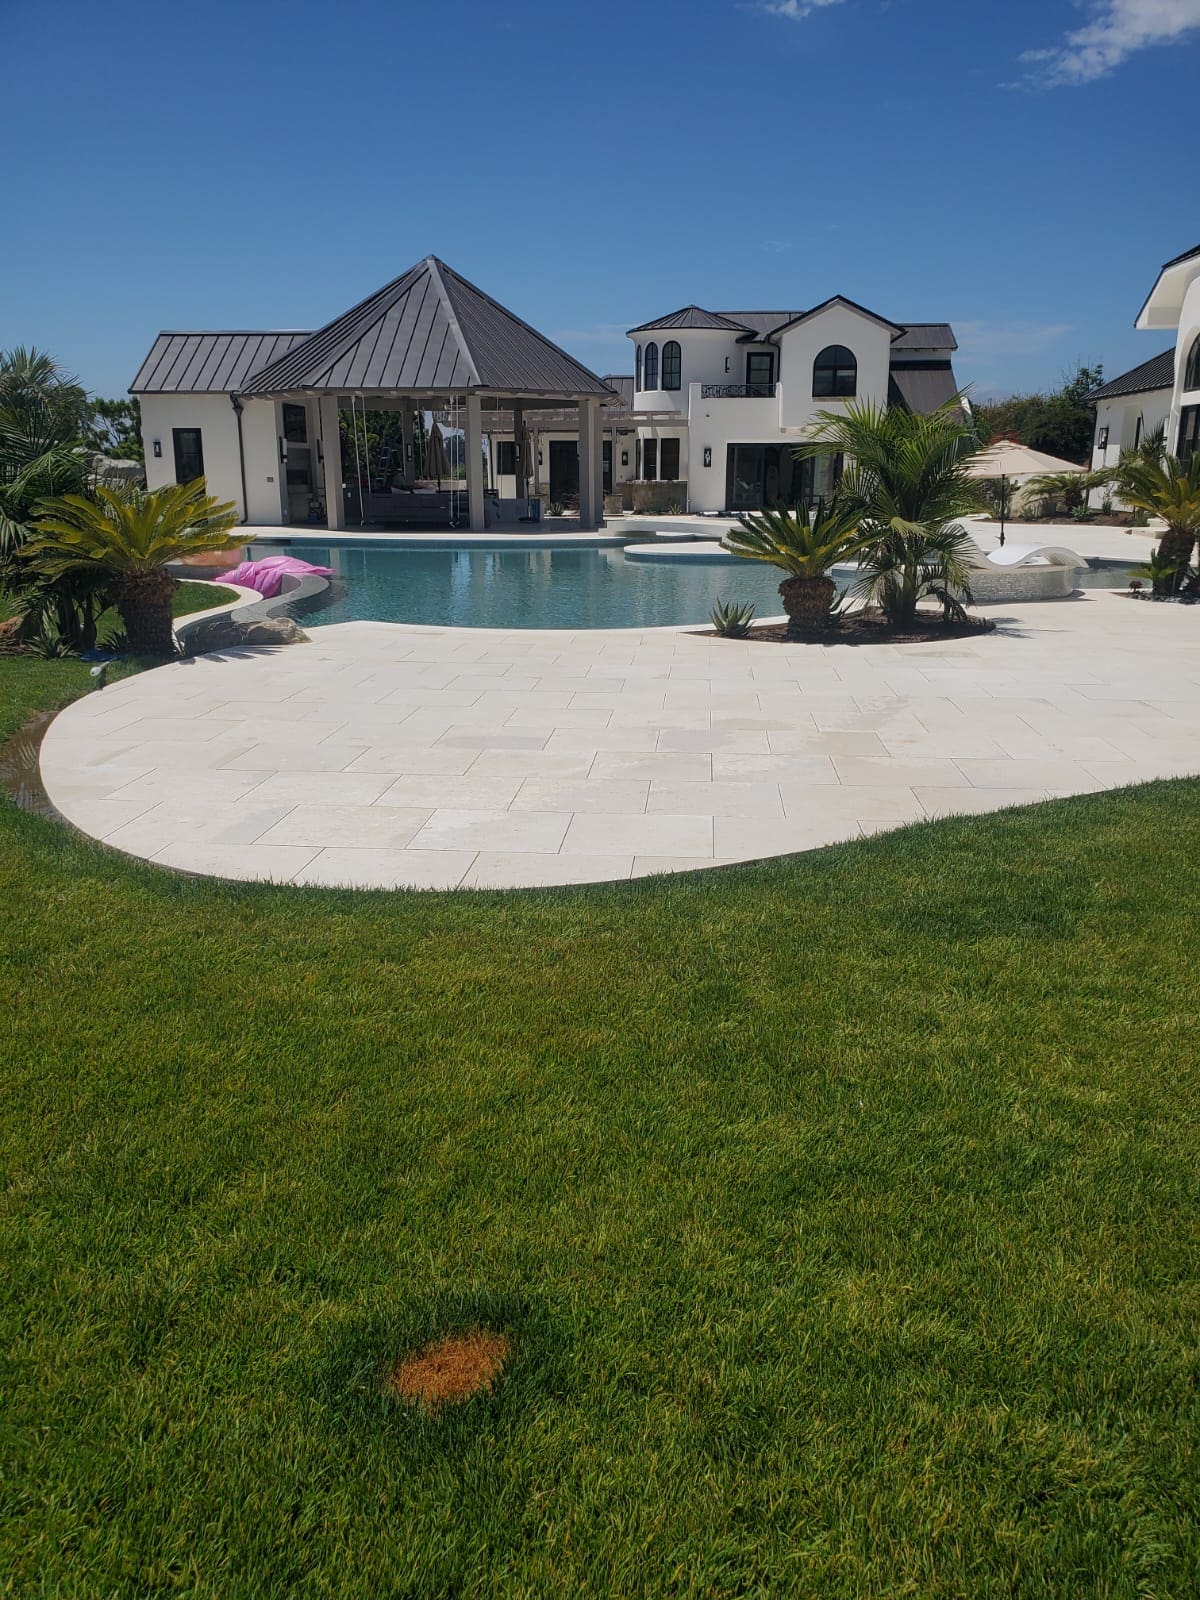
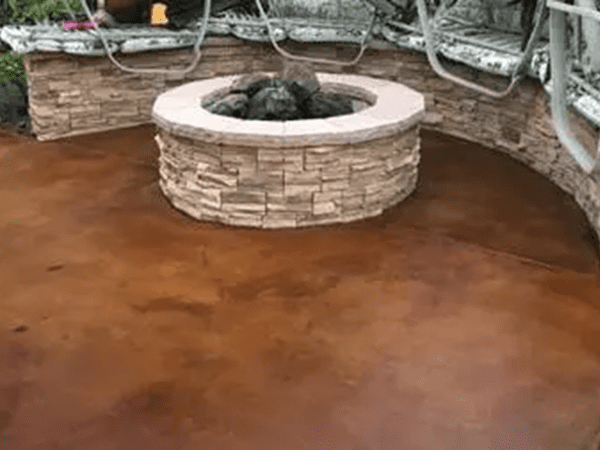
The Beauty of a Retaining Wall
A retaining wall becomes part of the landscape of your home. For this reason, you shouldn’t overlook the aesthetic aspect of a retaining wall.
Select materials that blend with your home’s design. Building materials vary widely.
Consider factors such as functionality, design, and cost when choosing materials for your wall. Some options include:
- Concrete
- Stone
- Pressure-treated timber
- Poured concrete
How to Replace a Retaining Wall
Replacing or building a retaining wall takes planning and skill. You want an attractive retaining wall that can withstand extreme pressure and the forces of gravity for years to come.
Building a Trench
Your retaining wall trench should be deep, wide, and level. There should be plenty of room for the blocks and about 8 inches of space behind them. Excavate to include 6 to 8 inches of base.
The trench should be leveled to ensure the base material is stable. This helps prevent tipping during freezing and thawing cycles. Landscape pros use a story pole and laser level to determine proper depth.
Compact the Trench
You must compact the soil in the trench bottom. You can use a vibrating plate compactor or hand tamper for the job.
An excavator or even hand shovels can loosen and disturb the top few inches of soil. This can make your wall settle, and you don’t want that to happen.
For this reason, don’t overlook the importance of compacting the trench.
Lay a Crushed Stone Base
Landscaping experts often prefer a crushed stone base over pit gravel. Although crushed stone costs more, it provides better drainage.
It doesn’t require as much compacting and stays in place better than gravel. Keep the stone about 1/2 higher than the desired final height.
Use a hand tamper or plate compactor. The stone should be 100% compacted as it goes into the trench. The same crushed stone is suitable for backfilling, eliminating the need for multiple materials.
The First Course Matters
A torpedo level helps level each block front to back. A 4 or 6-foot level helps keep each course even and where it’s supposed to be.
Take your time to get the first course as level and flat as possible. Lay the course in the center of the trench.
Sweep Before Stacking
It only takes a small pebble on a block’s surface to throw off the alignment of the wall. One crooked block affects the next one, and so on.
One little stone could create a hump in the top course. Be sure to sweep away loose pebbles before moving on.
Second Base Course
If your retaining wall runs uphill, continue it into the hill until the second course top is level with the grade. Start a second base course at this point.
If possible, excavate and lay the lowest course next. You want to do this before you begin excavating the trench.
Set Up the Retaining Wall Drainage
Drainage is a critical part of building a retaining wall. Once you’ve stacked a few rows, backfill the wall with rocks. It should match the grade height that’s in front of the retaining wall.
At this point, you should lay down some perforated drain tile for adequate drainage. Install drain fittings and drain grates every 25 to 50 feet, depending on the amount of rainwater you expect to run down to the wall.
Cut one block to accommodate drain grates. Screw the drain parts together. This will prevent them from coming apart as they become covered in more rock.
Hire a Landscape Professional for Your Retaining Wall
Are you wondering how to replace a retaining wall on your property?
Building a retaining wall takes a lot of time, patience, and materials. If you’re too busy or just not up to the job, no problem!
A landscape professional can help you understand how to replace a retaining wall and whether this addition will benefit your home or property value.
Since 2007, California Clean & Seal has provided solutions to residential hardscape and concrete needs. We would love to assist you with your retaining wall or hardscape construction.
Request a Clean & Seal estimate today.